Bird of Paradise Pose Tutorial – Learn How to Master This Elusive Balancing Pose

In yoga, there are many balancing yoga poses, each requiring varying degrees of strength and stability. One popular balance posture is Bird of Paradise Pose.
Named after the Hawaiian flower, Bird of Paradise Pose embodies strength, grace, poise, and elegance. And let’s be real – it ain’t easy! You need a whole lot of balance and stability, strength and flexibility, as well as technique.
In fact, technique is the secret ingredient to accessing this challenging balance pose. Read on to learn the main tips you need to stick Bird of Paradise Pose.
Sneak Peek: Here’s What Bird of Paradise Pose Looks Like
Follow the steps below to help you build towards this beautiful balancing yoga posture. Here’s a quick video from our Learning Yoga series to show you what Bird of Paradise Pose looks like. Enjoy and get excited!
Ok, It’s Time To Learn How to Practice Bird of Paradise Pose
First, you need space in the chest, shoulders, and spine to access a full bind. Next, this pose requires extreme hamstring flexibility. Then, you need the stability to transition into the standing final expression.
Psst! Need more flexibility in the hamstrings and more mobility (or openness) in the chest, shoulders and spine? Our Full Body Flexibility and Mobility program can help you reach these goals!
Finally, you need the technique in order to put it all together and stick your Bird of Paradise Pose! Here’s how:
Step 1: Start in Extended Side Angle
Step 2: Take a full bind
Step 3: Keep the bind and step your back foot up to meet your front
Step 4: Straighten into your standing leg as you lift your bound leg and torso upright
Step 5: Extend the lifted leg for full expression
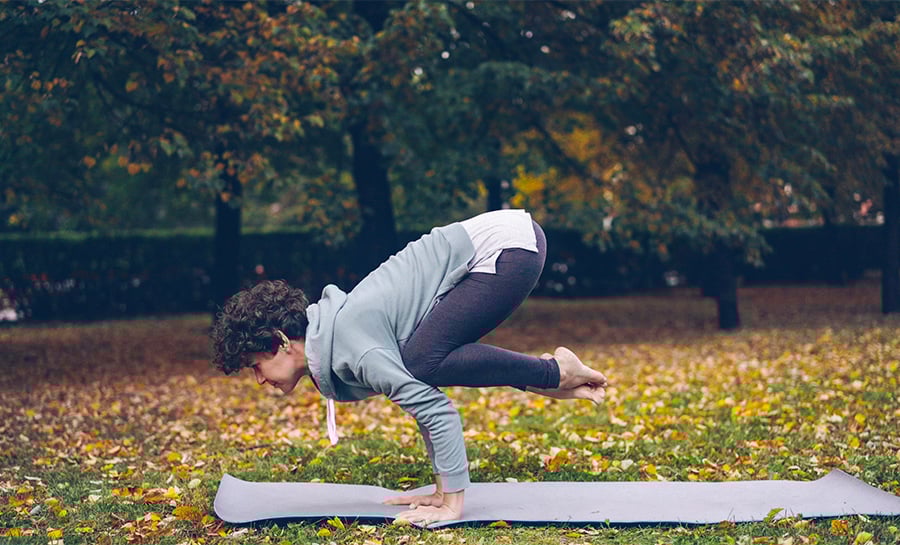
Looking for a step-by-step photo tutorial for Bird of Paradise pose? Check out Master Bird of Paradise Pose With These 8 Prep Yoga Poses
Watch the Bird of Paradise Video Tutorial
Follow along with YouAligned teacher Michelle Stanger as she guides you through a quick yet comprehensive step-by-step Bird of Paradise tutorial.

Remember! This pose takes practice and for many of us, requires work in poses that help you work towards accessing this pose. While it may not happen overnight, with dedication and practice you will get there!
Feel free to ask any alignment or technique questions in the comments below, and have fun finding your Bird of Paradise, yogis!
Looking for more yoga tutorials and yoga tips? Check out our full library of Yoga articles here
Looking For a Yoga Class To Warm Up? Check Out This Slow and Powerful Yoga Class
This is the perfect practice to warm up before Bird of Paradise pose! In this online yoga class from YA Classes, you will focus mainly on the hips, heart, and hamstrings opening the body through repetitive movement exercises, upper body twists, and holding postures. This class is a slow and powerful practice but suitable for all levels.
Not yet a YA Classes member? Try it out for free for 14 days.
This article has been read 746 times. Share it and spread the love!
You May Also Enjoy
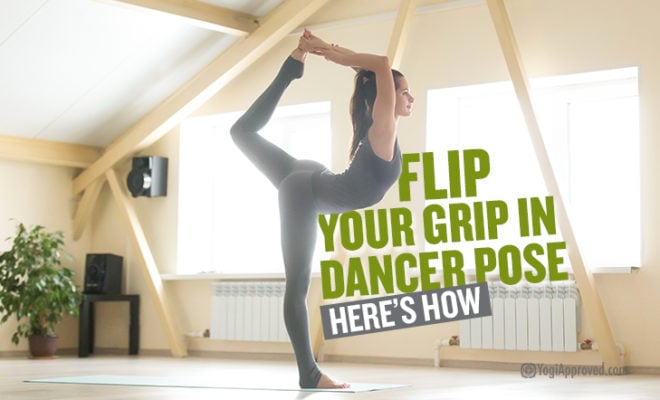
Flipping your grip in Dancer Pose is no easy feat, but with these top secret alignment tips, you can rock this backbend in no time!
Read »

Don't Miss These


This Month's Letter
From the Editor
Monthly motivation and food for
thought from our founder.