Eka Pada Kapotasana: How to Practice Pigeon Pose for All Levels of Mobility (Photo Tutorial)

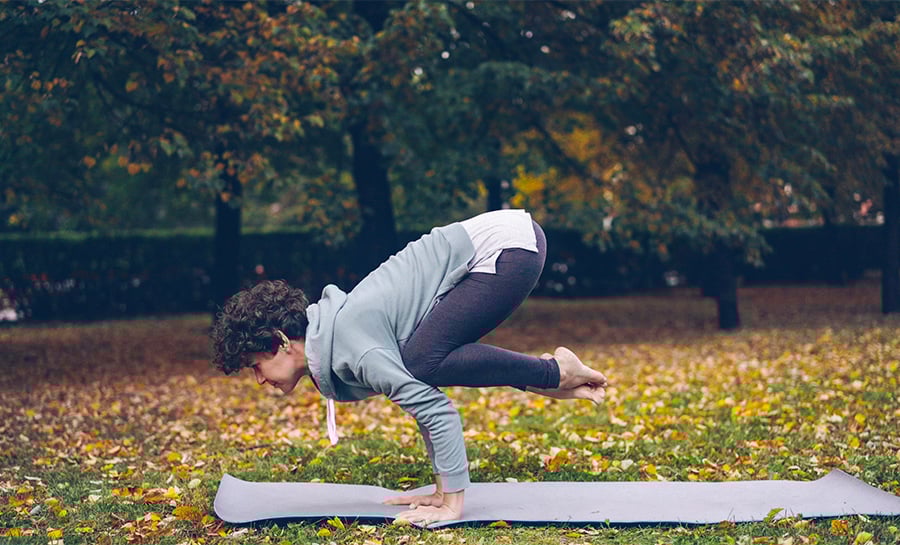
Eka Pada (Raja) Kapotasana, or Pigeon Pose, is probably one of the most misunderstood yoga poses. The ‘full’ and rather famous version of the pose, which is the so-called King Pigeon, includes an overhead grip that requires a deep backbend and considerable mobility in the shoulders and chest.
In this article we will talk about the foundation for the famous One-Legged King Pigeon Pose: the One-Legged Pigeon Pose. This pose not only creates the base for this famous and very sought-after King Pigeon variation, but is a beneficial and effective pose by itself.
To clarify the difference one step further, Pigeon Pose is the hip opening yoga pose that is typically offered towards the end of a yoga class. King Pigeon is the flipped grip expression that, in addition to being a hip opener also becomes backbend and a chest and shoulder opener.
Looking for a Video Tutorial on How to Practice Eka Pada Kapotasana (Pigeon Pose)?
Check out Learning Yoga, an online yoga program from YA Classes, which features 30+ of the most common, foundational yoga poses, including Pigeon Pose and Reclined Figure 4, a wonderful alternative pose that is more gentle and still has the same benefits. Learn safe alignment, common variations and accessible modifications for each pose in a short and interactive video.
Functionality versus Aesthetics In Pigeon Pose
At the base of the following guide to Eka Pada Kapotasana lies the principle that a yoga asana practice is meant to be a function-based practice, not a practice based on aesthetic. This doesn’t mean that a pose shouldn’t or can’t be aesthetic (aka beautiful and photo-worthy), but aesthetic alone is not the main objective!
It is always important to keep in mind that your mobility is not only determined by your muscles but also by your skeletal structure.
Very often students (and teachers too) get caught up in their desire to achieve the aesthetics of a pose that they forget the functionality that lies behind it. When we forget about what the pose is meant to achieve for us (on a physical and mental level) we may miss out on many benefits and in the worst case, risk injury.
Muscular Tension versus Skeletal Structure In Pigeon Pose
There are many levels to how physical yoga poses influence and benefit our physical body. In this context, we will discuss the muscular level and which muscles restrict a full expression of the One-Legged Pigeon Pose.
From here, we can understand how to effectively use this yoga pose to create more mobility in those areas of the body. It is always important to keep in mind that your mobility is not only determined by your muscles but also by your skeletal structure (the shape of the head of your femur and your hip sockets, for example).
Maybe your skeletal structure will allow a full expression of the pose and maybe not. You will only find out through a regular, precise and conscious practice.
Here Are the Muscular Target Areas for One-Legged Pigeon Pose:
Eka Pada Kapotasana is meant to target several muscle groups:
1. The Deep Six Lateral Rotators
The piriformis, gemellus superior, obturator externus, gemellus inferior, obturator internus, and the quadratus femoris.
This is a muscle group that is tight in many of us and that has a great influence on our ability to externally rotate the femur in the hip joint when seated (when our hip joint is flexed).
When we practice Pigeon Pose, we come across the deep six lateral rotators in the front leg. If this muscle group is tight, you will struggle to bring your front buttock to the mat.
2. The Hip Flexors
The rectus femoris of the quadriceps muscle group and the iliacus and psoas.
The hip flexors are a muscle group that gets short and tight due to activity and prolonged inactivity while the hip joint is flexed. So, if most of your day involves sitting, your hip flexors will probably be tight and over time, this will negatively affect your posture.
The psoas is considered to be a store-house of emotional tension, and a chronically tightened psoas will signal your body that you’re in danger. This can eventually result in exhausting your adrenal glands and weakening your immune system.
Curious to learn more about the psoas? Read: The Psoas Defined, Explained, and Explored in 6 Yoga Poses
When we practice the One-Legged Pigeon Pose, we come across restriction in the hip flexors in the extended back leg. If your hip flexors are tight, you will struggle to bring the front of your back thigh toward the mat.
How to Enter Eka Pada Kapotasana Safely: The Do’s and Don’ts of Pigeon Pose
There are many ways that Pigeon Pose can be taught, but that doesn’t mean that all are correct or equal. Read on for the safe and correct way to access Pigeon Pose.
1. Start in Table Top position
Begin on all fours, with your knees directly below your hips, and your hands slightly ahead of your shoulders.

2. Lower into a Gentle Pigeon Shape
From there, slide your right knee forward to the outside of your right wrist (this is key). At the same time, bring your right foot to the front of your left knee, resting the outside of your right knee on the floor.
Looking for more yoga tutorials and yoga tips? Check out our full library of Yoga articles here

3. Refine the Shape
Slowly slide your left leg backward, straightening your knee and lowering the front of your left thigh as close as possible to the floor. Lower the outside of your right buttock to the floor.

Position your right heel just in front of your left hip and push your fingertips firmly to the floor. Roll your left hip joint toward your right heel, squaring your pelvis as much as possible.
4. Find Your Final Expression
Then, with your hands pushing against the floor, lengthen your spine and gaze straight ahead.

Don’t:
Do not place your right (front) knee in the middle of your hands. If you do that, you won’t work towards increasing flexibility in your deep six lateral rotators in your front hip, and you won’t achieve a steady base for the next steps of the pose.
Also, do not try to bring your front shin parallel to the mat, unless you can easily square your pelvis in the above described steps and don’t feel any stretch in your right buttock.
Pigeon Pose Modifications and Variations
Now that we’ve experienced how to properly enter and practice Pigeon Pose, read on to learn how to modify your Pigeon Pose if it isn’t fully accessible to you, along with variations to explore when you’re ready to progress.
Here’s How to Modify Your Pigeon Pose
Wondering how to support yourself if you can’t square your pelvis and rest your right buttock on the mat?
Follow steps 1 through 3 from above, and then support your front (right) buttock with a folded blanket, a yoga block or a bolster. Aim to keep your pelvis squared.

Eka Pada Kapotasana Variations
Only once you have understood and experienced the proper foundation of Pigeon Pose with the correct alignment that targets the desired muscle groups (using yoga props if necessary) should you move on to exploring Pigeon Pose variations.
1. Supta Eka Pada Kapotasana (Sleeping One-Legged Pigeon Pose)
Follow steps 1 through 4 as described above, then gently walk your hands forward until your chest rests on your front knee and your forehead on the floor.
A common misconception with Pigeon Pose is that this variation of Sleeping Pigeon is the final expression. It’s not – it’s simply a variation you can take, so don’t ever feel like you have to do it if it feels better in your body to remain upright (as explained above in step #4).
Caution: Keep your hips squared, with the front of your left hip reaching toward the right heel. You should not feel any strain in your right knee. You can support your chest or head on a cushion or bolster if folding all the way down is too far.


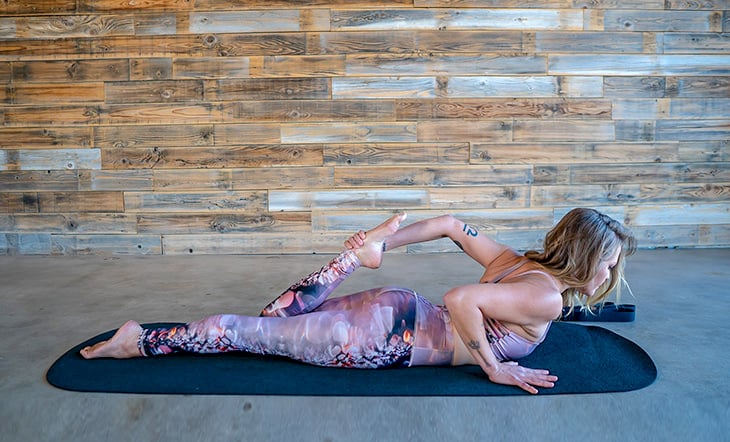
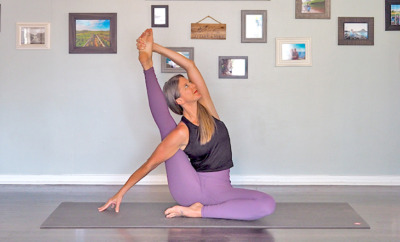
2. Sukha Eka Pada Kapotasana I (Easy One-Legged Pigeon Pose I)
Follow step 1 to 4 as described above, then bend your extended left knee and grab onto the inside of your left ankle with your right hand.
Create opposition by kicking your left foot away, and if you are stable, extend your left hand diagonally upward. Gaze at a point slightly above eye level.
Caution: Keep your hips squared, with the front of your left hip reaching toward the right heel. You should not feel any strain in your right knee.
Master One-Legged King Pigeon Pose – 8 Yoga Poses to Help You Flip Your Grip

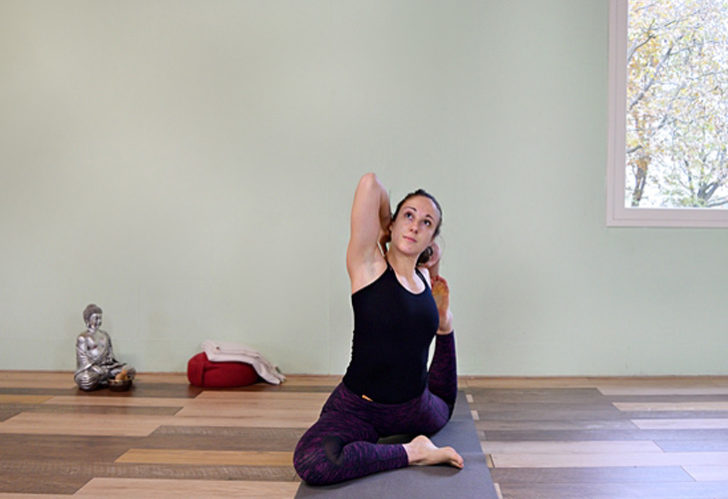
3. Sukha Eka Pada Kapotasana II (Easy One-Legged Pigeon Pose II)
Follow the same steps as described above for Sukha Eka Pada Kapotasana I as described above, then wrap the inside of your left elbow around your left ankle. Now clasp your hands together and bring them behind your head as you gaze forward and slightly upward.
Caution: Keep your hips squared, with the front of your left hip reaching toward the right heel. You should not feel any strain in your right knee.
Eka Pada Kapotasana: The Takeaway on Pigeon Pose
One of the most frequent questions my students ask me is: What can I do to master this or that pose?
My answer (usually) is, practice that pose but with respecting your range of motion and using modifications if necessary.
Eka Pada Kapotasana is one of the popular poses that students want to master, with all of its fun and challenging variations.
But getting back to functionality vs. aesthetics, it’s important to remember that Pigeon Pose is highly effective for working through tension in your hip joint and groin.
Approach this yoga pose mindfully and with a beginner’s mind. Instead of trying to jump to the final full expression or the most advanced variation, explore the key alignment tips this yoga pose tutorial outlines, and take it step by step, honoring your body and its limitations.
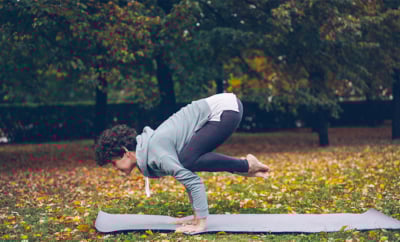
I invite you to use these photos to understand the functional alignment of the pose, and explore how it feels in your own body.
Take These Yoga Classes to Open Your Hips


This article has been read 1K+ times. Feelin’ the love!
You May Also Enjoy

Hip openers create more flexibility, mobility and space. Practice these ten hip opener yoga poses for much-needed relief in tight hips.
Read »

Don't Miss These


This Month's Letter
From the Editor
Monthly motivation and food for
thought from our founder.