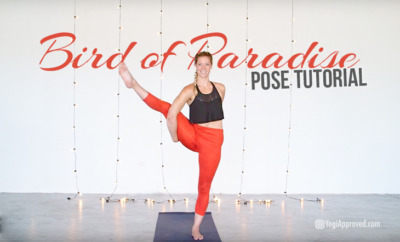
Learn How to Flip Your Grip in Dancer Pose in 8 Steps (Hint: It’s All About Technique)
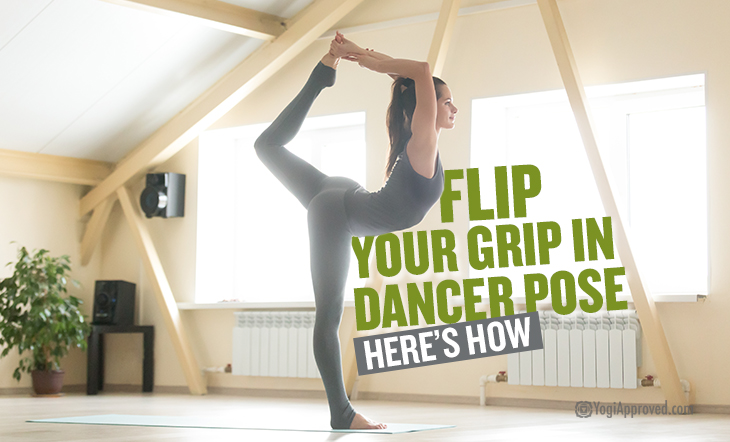
I remember the first time I saw full Natarajasana . . . I thought it was the most beautiful asana I’d ever seen. It instantly became my “goal” pose, and I was determined to flip my grip and practice this expression of Dancer Pose.
But no matter how open I thought I was, this posture alluded me. I could flip my grip in other backbends, so why was Dancer Pose any different?
Turns out I was missing technique, not strength or flexibility, to practice this deep variation of Dancer Pose. And I’m here to share this top secret information with you.
Open and Stretch Your Body Before Practicing Dancer Pose – Check Out This Class For Full Body Flexibility
Explore yoga poses and stretches that target specific parts of the body in this five-part yoga program on YA Classes. You will also learn how to utilize yoga props, breathing, and other techniques to help you gain and deepen your flexibility.
Prep To Flip Your Grip
Before working toward this deep backbend in Dancer Pose, be sure to warm-up the key areas of your body that you’ll be using. Notably the shoulder girdle, back, chest, hips flexors, quadriceps, and hamstrings.
When you’re ready, follow these eight steps twice. Use a yoga strap wrapped around your lifted foot to assist you the first time and try the pose without the strap the second time.
If you’re working on building strength and flexibility, practice these 8 Yoga Poses to Help You Flip Your Grip.
Here Are the 8 Steps to Flip Your Grip in Dancer Pose
I cannot stress this enough. This form of Natarajasana is a deep backbend. It stretches and strengthens many different parts of your body simultaneously, and requires a proper warm-up before practicing.
Be sure to even out your body by practicing each pose on both sides!
Step 1. Mountain Pose
Mountain Pose helps you find stability in your foundation and will make the work that you do later in Dancer Pose infinitely easier.
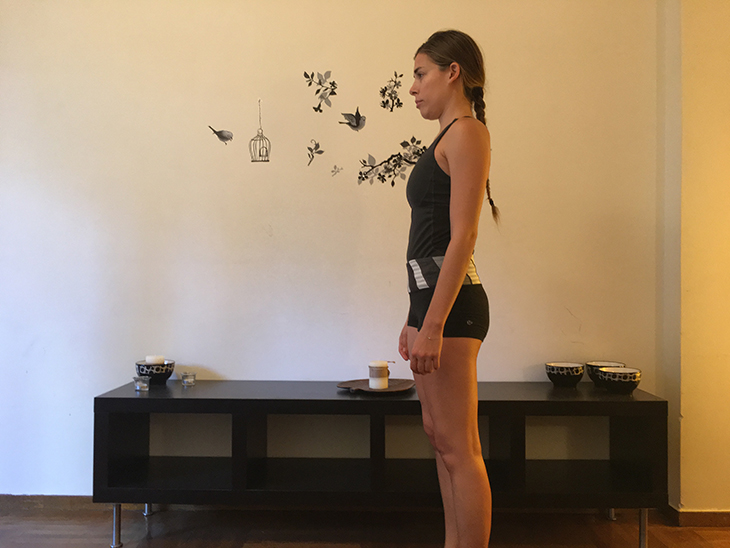
How to Practice Mountain Pose:
- Stand with a tall spine and your feet hip-distance apart
- Roll your shoulders back and bring palms to face forward
- Focus your eyes on one still point in front of you, finding your drishti
Alignment Tips and Tricks:
- Distribute your weight evenly through your feet
- Activate your core by drawing your navel toward your spine
- Lift the pelvic floor, activating Mula Bandha
Need to realign your Mountain Pose? Deconstruct this fundamental asana here!
Step 2. Lifted Leg
Start to find balance for your Dancer Pose as you draw one leg off the floor, reinforcing your stability and concentration.
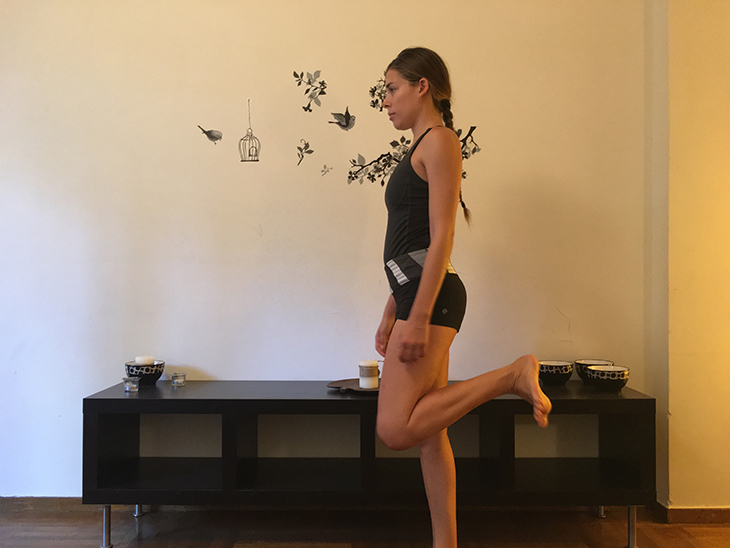
How to Practice Lifted Leg:
- Lift your right heel, rising to the ball of your right foot
- Bend your right knee to draw your heel toward your seat
- Flex your lifted foot
Alignment Tips and Tricks:
- Keep your hips level and your spine tall
- Stabilize with drishti and engage your core
- Engage your your leg muscles as you balance (these muscles will support you immensely in your backbend)
Looking for more yoga tutorials? Check out our full library of Yoga articles here
Step 3. Catching Hold
Your initial grip of your foot for Dancer Pose is extremely important. You need to have a firm hold of your foot in order to flip your grip.
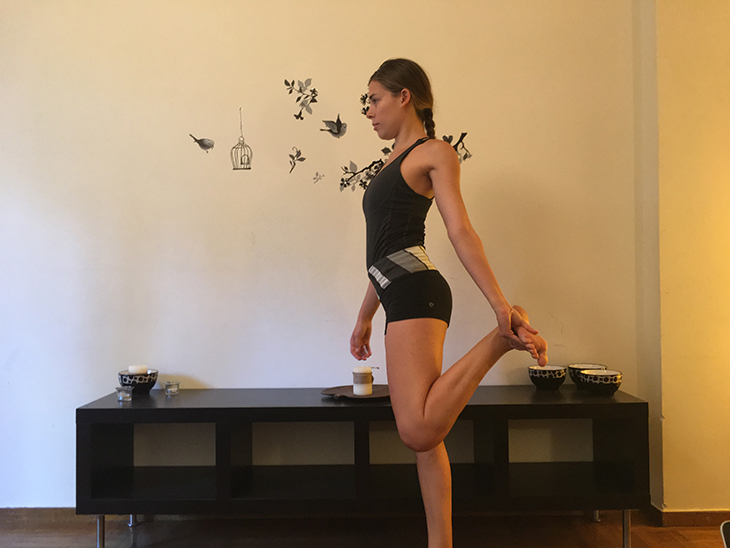
How to Practice Catching Hold:
- Peek over your right shoulder towards your lifted foot
- With your palm facing skyward, grab your flexed foot with your right hand and find a firm grip
- Return your torso and gaze forward
Alignment Tips and Tricks:
- Bring your thumb to the arch of your foot and your fingers around the top of your foot and hold tight!
Step 4. Turning the Toes
In this step, you release the angling of your lifted foot and point your toes toward the ceiling so you can prepare your pelvis for the backbend to come in Dancer Pose.
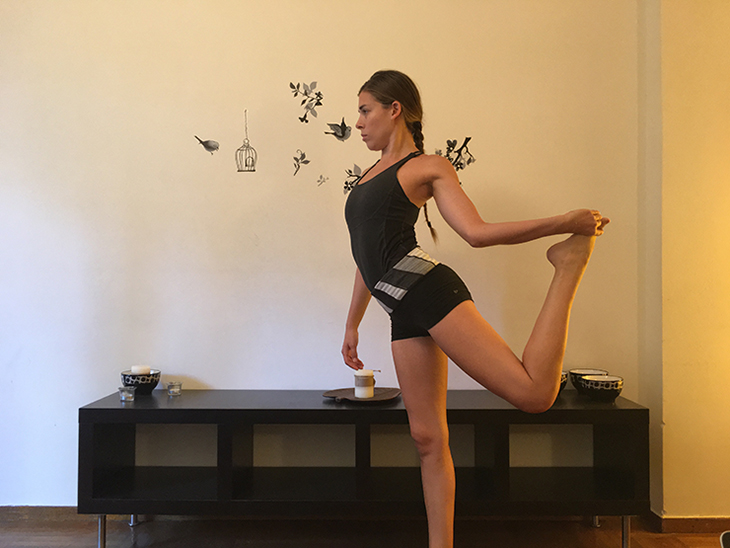
How to Practice Turning the Toes:
- Square your hips toward the front of your mat
- Draw your knees toward each other, returning them to about hip-width distance
- Gripping your foot, point your toes skyward
Alignment Tips and Tricks:
- Allowing your elbow to move slightly toward the right side of your mat
- Keep a powerful activation of your right foot
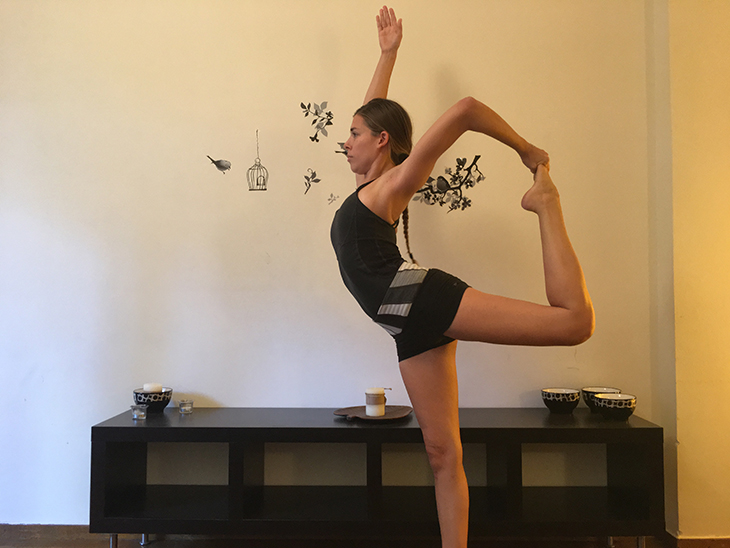
Step 5. Extending
Explore the beginning of the backbend in Dancer Pose as you kick your foot back and open your heart.
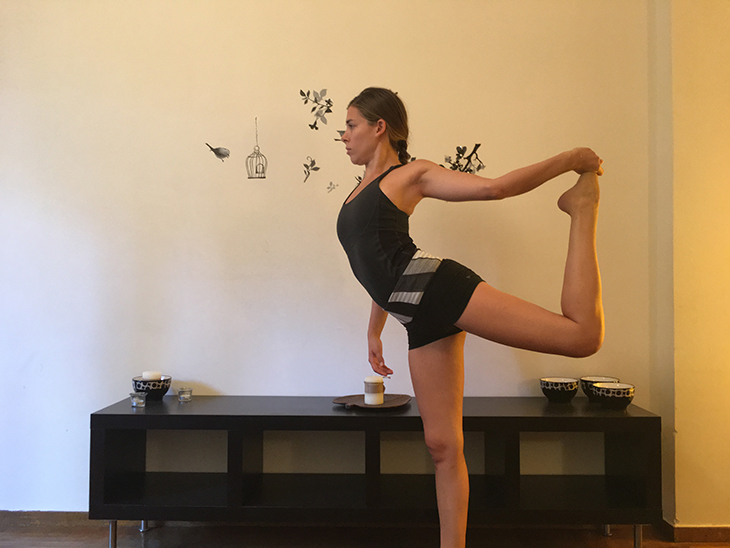
How to Practice Extending:
- Firmly gripping your foot, kick energy back through your right leg
- Allow your torso to lean slightly forward
Alignment Tips and Tricks:
- Create the beginning of a backbend within your spine
- Maintain a strong and active core to support your lower back
- Tilt your hips forward and down towards the mat to maintain a natural curve within your lumbar spine (your lower back)
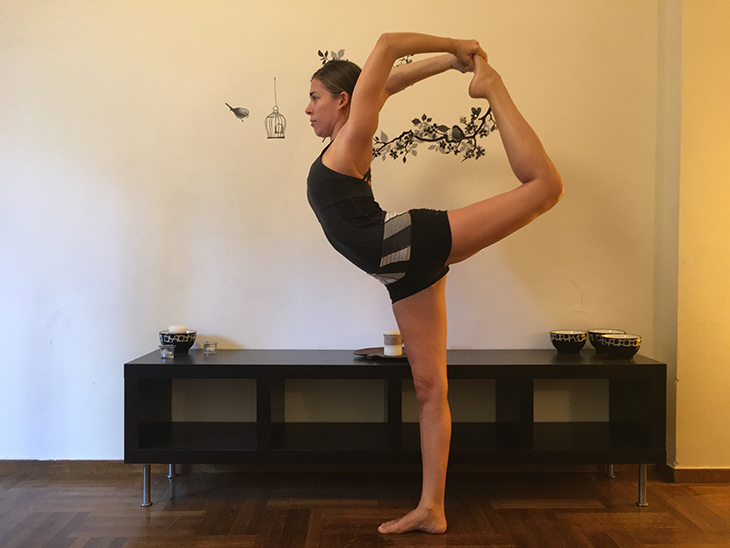
Step 6. Rotating the Grip
Work toward the full extension of Dancer Pose by rotating your upper arm bone within your shoulder girdle so your elbow points skyward.
How to Practice Rotating the Grip:
- Reach an active left arm up as a counterbalance
- Push back firmly through your right foot while pulling forward with your strong grip
- Rotate your right elbow toward the right side of your mat and continue to rotate it until it points skyward
- Please note: stop at any point that this feels like too deep of a stretch for you
Alignment Tips and Tricks:
- Draw your shoulders away from your ears
- Bring awareness to where your upper arm bone connects with your shoulder, making sure to keep your arm bone firmly drawing down into your shoulder socket
- Stabilize with a strong core, drishti, and an engaged Mula Bandha
Need a Mula Bandha refresher? Learn how to activate this root lock here!
Step 7. Holding with Both Hands
Reach your other arm overhead to doubly bind into full Dancer Pose.
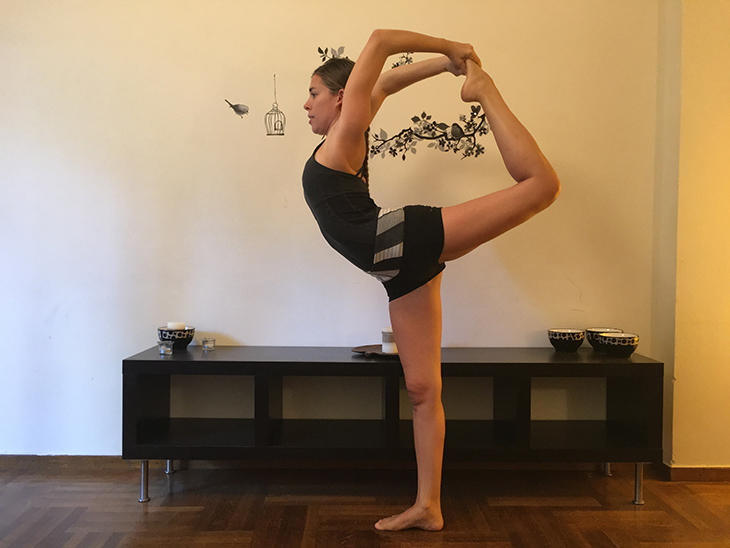
How to Practice Holding with Both Hands:
- Bend at your left elbow and point it skyward
- Take hold of your right forearm with your left hand
- Gradually walk your left hand along your right arm until you reach your right foot
- Hold onto the big toe side of your foot with your right hand and the pinky toe side of your foot with your left hand
Alignment Tips and Tricks:
- Your hips and shoulders are squared forward
- Allow your chest to move and expand forward
- Maintain activation in your core
- Take deep breaths!
Step 8. Expanding Deeper
The final step! Deepen Dancer Pose by expanding in all directions to find your fullest backbend.
How to Practice Expanding Deeper:
- Kick your right foot toward the back of your mat
- Energetically, use your grip to pull your foot towards the front of your mat
- Hug your elbows toward each other and point them skyward
- Lift your right leg higher
Alignment Tips and Tricks:
- Breathe deeply into each expansion
- Activate your core to protect your spine
- Engage Mula Bandha
- Gently back off if you feel you’ve gone past your edge
The Yogic Trifecta: Dancer Pose
Dancer Pose, or Natarajasana, is one of those full body postures that utilizes the yogic trifecta: strength, flexibility, and breath. Don’t be discouraged if you don’t master this pose on your first try. It takes a dedicated practice (and lots of patience!) to achieve.
Once you have the strength and flexibility for this pose, it takes just a bit of technique to master this challenging variation. Take deep breaths and enjoy the journey as you find the grace of a dancer in Dancer Pose.
Take This Heart-Opening Yoga Program
Take this 4-class heart opening yoga program with Leah Sugerman.
This article has been read 1K+ times. Feelin’ the love!
You May Also Enjoy
Want to deepen your yoga practice? Here are six tips on how you can go deeper into yoga poses - safely - and enjoy a deep stretch!
Read »

Don't Miss These


This Month's Letter
From the Editor
Monthly motivation and food for
thought from our founder.