Make Your Own DIY Floral Sage Bundle to Cleanse Your Space (Step-By-Step Photo Guide)
Making a sage bundle (also referred to as a smudge stick or smudge bundle) is fun, simple, and can be a beautiful ritual in itself. You not only get to reap the benefits of the smell for months, but a floral sage smudge bundle is also a beautiful addition to you altar and sacred space.
Whether you feel like you need to clear our some bad vibes or just crave a refreshing smell and intentional ritual, sage is the absolute best!
Want to learn more? Here’s Everything You Need to Know About Smudging and Cleansing Your Space
What is Sage?
Sage is an herb that has been dried and used for millennia across cultures to clear the air, initiate and close a ceremony, amplify a ritual, bring protection and peace, and raise the vibration of any space.
The smoke is considered to have cleansing properties that extend from the physical into the metaphysical realm.
White sage is primarily used in smudge bundles, as this is traditional for native cultures, but you can use any type of sage you like. You can also use different types of herbs that dry well like lavender, juniper, pine, rosemary, cedar, and even roses!
Materials Needed for Floral Sage Smudge Bundle
These inexpensive items can be found in your own garden, at your local farmer’s market, and even at the grocery store. For this particular bundle, I’ve used the following items which I purchased at a farmers market.
You can use as many or as few herbs as you like. The size of your sage bundle is totally up to you and 100% custom!
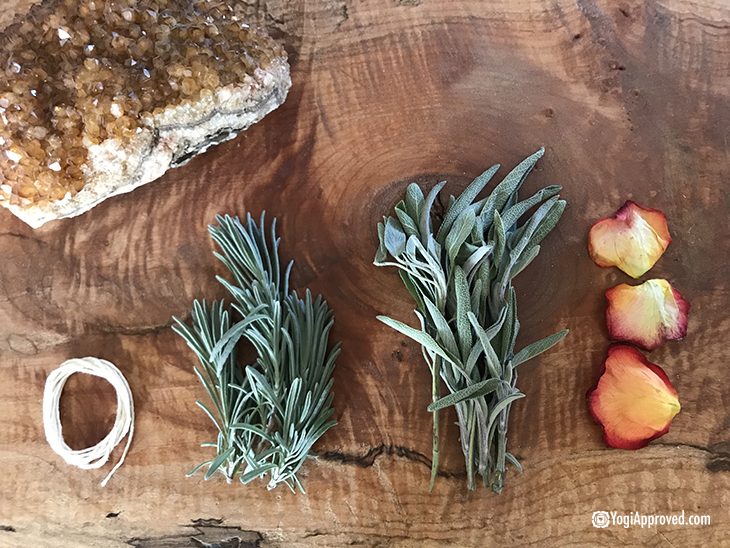
- White sage
- Lavender leaves
- Dried rose petals
- Cotton culinary twine
Steps to Make a Floral Sage Bundle
These simple and fast steps will have you feeling like a garden goddess! Dive in a have fun while you make your very own floral sage smudge bundle.
Step 1
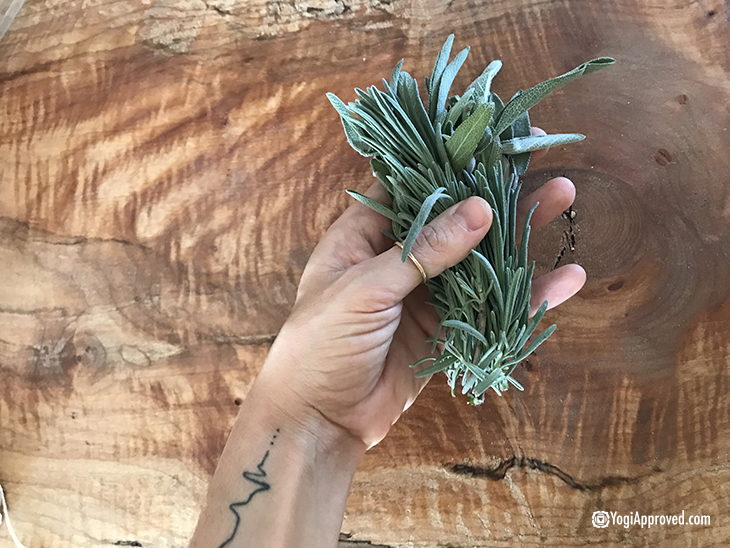
Gather your fresh herbs, with the stems as flush as possible to the bottom of your hand.
Step 2

Add any type of floral petals, small roses, or anything that will dry well on top. Lavender flower is also a good option here.
Step 3
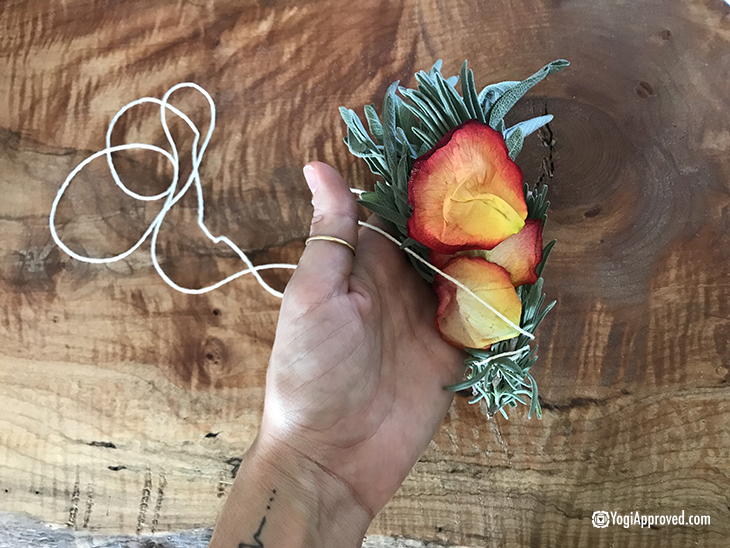
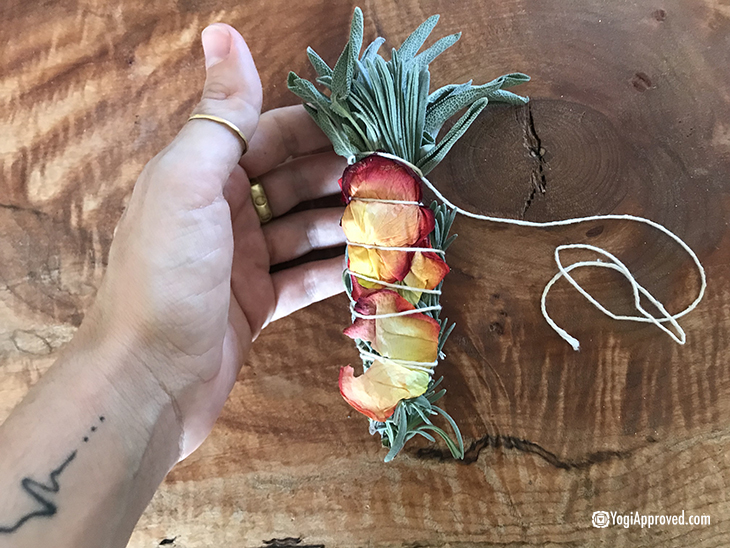
Take your string or twine and secure the end of the twine to the thickest stem by tucking it in slightly, but also leaving a small tail to circle back to at the end. In swirling motions going upwards, tightly bind the herbs together.
As the herbs will shrink when they are dry, you’ll want to wrap them super tight to ensure the twine stays in tact. When you get to the top, spiral down in the opposite direction to make and “X” with the twine. Secure the wrap by tying a knot with the tail you started with and tuck in any excess string.
Step 4
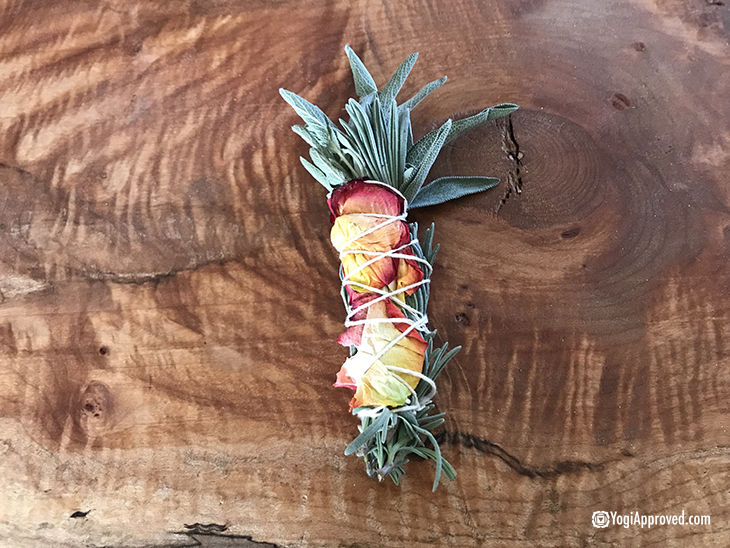
Allow your beautiful bundle to dry for about 2 weeks. If there is still some moisture in the leaves, you won’t get a good burn and the full benefits of the herbs. The bundle will be fragile and stiff to the touch when it is completely dry.
Step 5
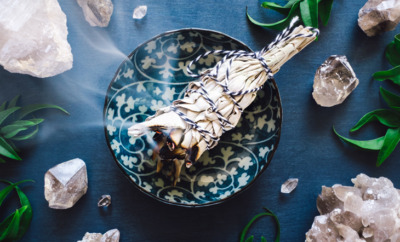
Light, cleanse and enjoy!
Please use a fire safe bowl when you are burning your sage floral bundle. If you are walking around your space, be sure to hold the bowl under the burning sage bundle as the ash may have embers and could burn anything that is flammable.
Now You Have Your Own DIY Sage Bundle!
Please also be mindful that not all people may like the smell of sage (crazy, I know), so when you’re cleansing your space, open a window and allow the smell to waft out to nature.
Smduge sticks are a beautiful gift to make for friends and family and once you realize how easy and fun it is, you’ll be wrapping up all different kinds of herbs.
This article has been read 676 times. Share it and spread the love!

Don't Miss These


This Month's Letter
From the Editor
Monthly motivation and food for
thought from our founder.