
Wrist Pain? Practice These 10 Stretches to Reduce Pain and Prevent Injury

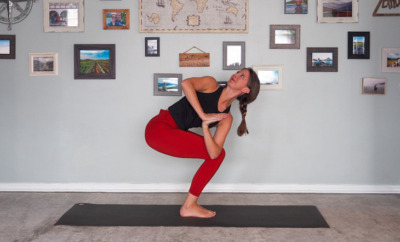
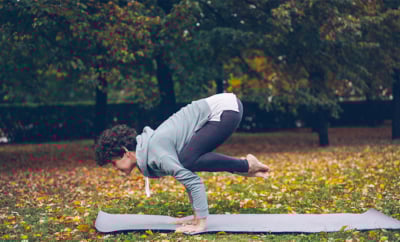
Wrist pain and injury is common among yogis. The wrists are weight-bearing in many yoga poses, such as plank and crow pose, which can cause injuries if your wrists are weak or tight. If you are experiencing discomfort in these poses, try these yoga poses and stretches for wrist pain to reduce inflammation and pain.
Our wrists go through a great deal of repetitive motions in yoga and in daily life, which means that taking proper care of your wrists to avoid wrist pain and injury is extra important – not just for your yoga practice, but for all aspects of your life.
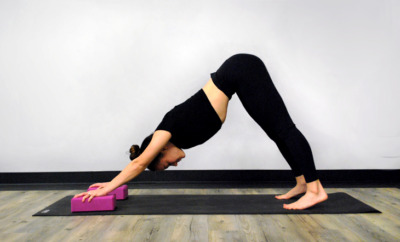
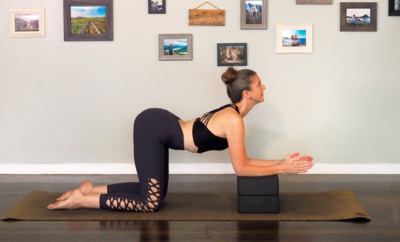
Learn How Yoga Props Can Support Your Practice and Alleviate Wrist Pain With This Online Yoga Class!
Yoga props are your friend! They help with proper alignment, support, safety, and even increase strength and stability. If you are looking for stretches for wrist pain check out this class from YA Classes by YouAligned.com which teaches you how to incorporate props throughout your practice.
Reduce Wrist Pain: Practice These 10 Yoga Poses and Stretches for Wrist Pain:
Below are a mix of stretches and yoga poses to help lengthen and strengthen your wrists to reduce wrist pain and avoid potential injury.
Do Your Wrists Hurt In Yoga? Here’s How to Modify 5 Common Yoga Poses for Wrist Pain
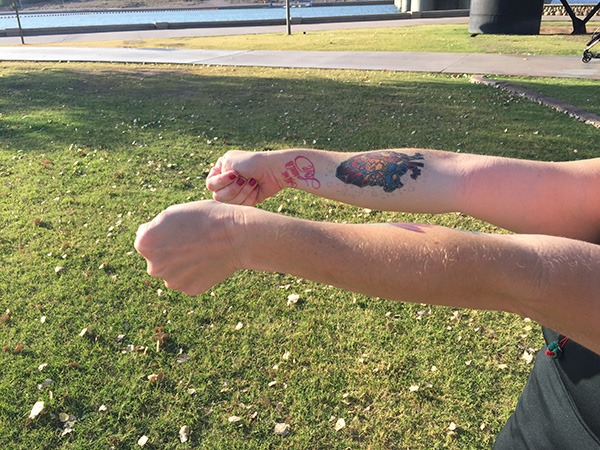
1. Extended Arms
From a seated position, extend your arms out straight in front of you. Flex one of your wrists so that your fingers are pointing towards the sky. With the other hand, gently pull your fingers back toward your body. Hold this for 20-30 seconds.
Next, flex the wrist so that the fingers are pointing toward the floor. With the other hand, gently pull the flexed hand toward the body. Hold this for 20-30 seconds. Repeat both stretches on the opposite wrist.
2. Clenched Fists
Extend your arms out straight in front of you, palms facing each other. Make a fist with each hand and then slowly bend at the wrists, drawing your knuckles towards your body. Bend the wrists in as far as you can comfortably and hold for 15-20 seconds.
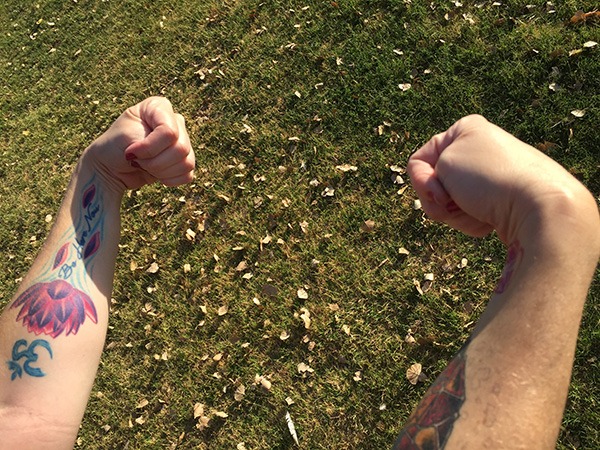
To intensify the stretch: Use one hand to gently pull the clenched fist into the body.
Looking for more yoga tutorials and yoga tips? Check out our full library of Yoga articles here
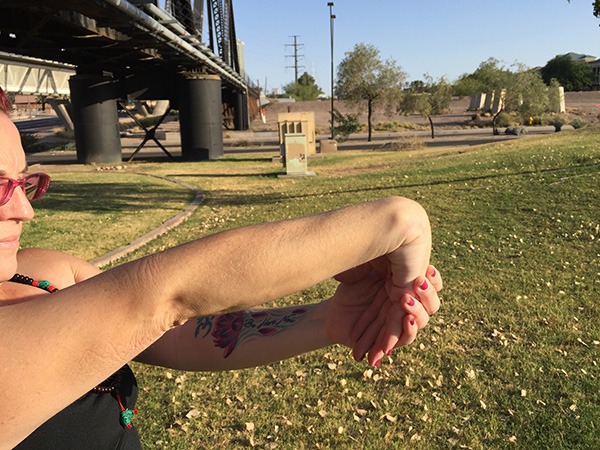
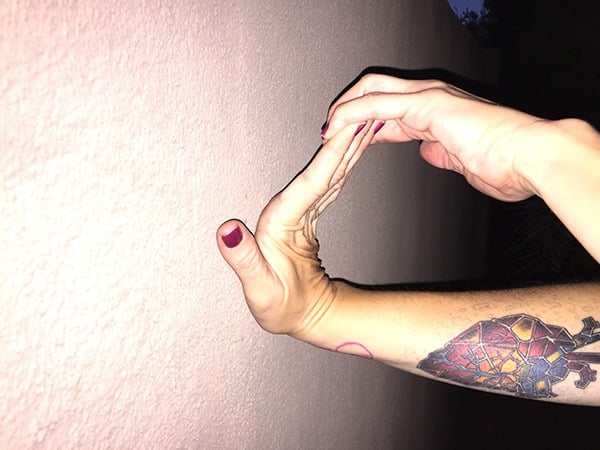
3. Side Thumb Stretch
Extend your arms out straight in front of you, palms facing each other. Bend your thumbs in towards your palm, and then fold your fingers over the thumb. Slowly press the pinky side of your hand toward the ground and notice the stretch in the area surrounding the base of the thumb. Hold for 20-30 seconds.
4. Wall Stretch
From a standing position, extend your arm straight out in front of you and place the palm of your hand flat on the wall. With your free hand, very gently pull your fingers back until you feel a stretch. Hold for 20-30 seconds. Repeat on the other wrist.
Alleviate Wrist Tendonitis Pain With This Gentle Yoga Sequence
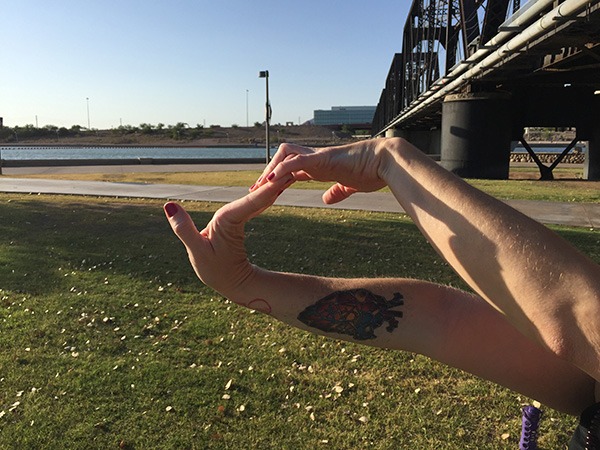
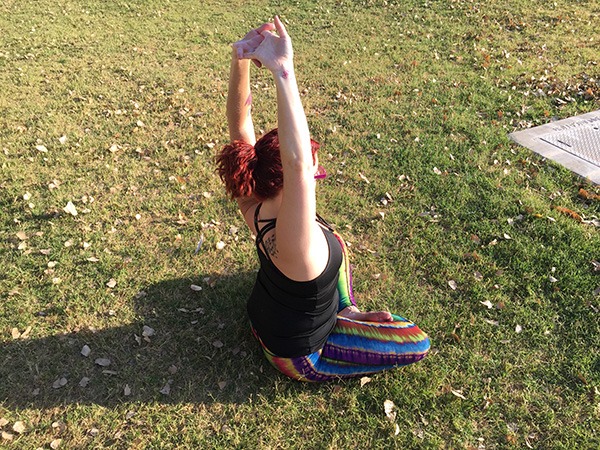
5. Upward Bound Fingers Pose
From either a standing or seated position, interlace your fingers snugly at the webbing of your hand and then rest your hands on the top of your head, palms facing up. Shrug your shoulders away from your ears as you begin to straighten your arms skyward while rotating your palms to face up. Hold for 30 seconds.
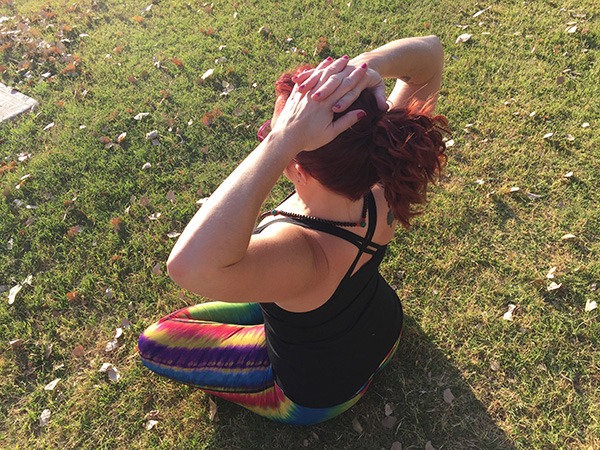
Next, you can bend and straighten your arms, keeping your hands in the same position. This will help increase flexibility in the rotator cuff.
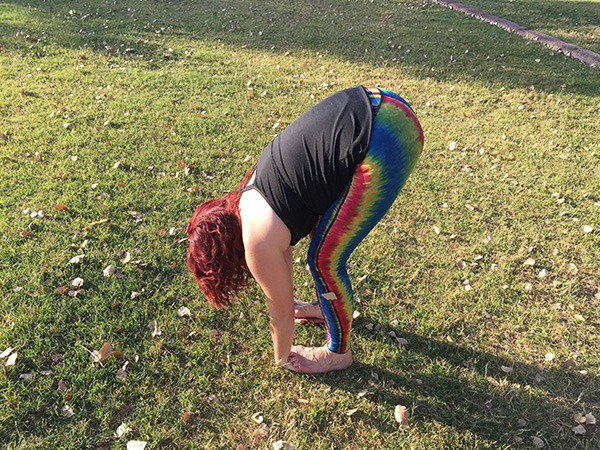
6. Hand Under Foot Pose (Padahastasana)
Also referred to as Gorilla Pose, this is a great pose to massage the wrist joints. From a forward fold position (Uttanasana), gently bend your knees and slide your hands (palms facing up) under your feet.
You want the toes to rest in the crease of the wrist, so bend your knees as much as you need to. Make sure that your quadricep muscles are engaged.
Once you feel stable, lean your weight into the balls of your feet and massage your wrist joints with your toes. It feels amazing!
7. Anjali Mudra (Hands at Heart Center)
This mudra can be taken either alone or as part of a pose, such as Parsvottanasana (Pyramid Pose). Anjali Mudra is done by simply bringing the palms together at heart center.
By pressing the palms together more firmly, you can control the amount of stretch in the wrists. In Pyramid pose, Anjali Mudra can be taken behind the back, creating a slightly different stretch for the wrists.

Tips for Parsvottanasana: Place your feet hip-width distance and then step them 3 feet apart. The back foot should be at about a 45 degree angle (toes pointing toward the front corner of the mat). Squaring off your hips by pulling the front hip back and pressing the back hip forward will aid your flexibility in this pose.
8. Gomukhasana (Cow Face Pose)
This pose offers an unexpected stretch for the wrists. Once your legs are in place (with the right leg on top), stretch your right arm out to the side and flip the palm to face behind you. Bend at the elbow and sweep the arm behind your torso and tuck the arm into the hollow of your lower back.
Carefully work the arm up your torso until your forearm is parallel to the spine. Next, raise the left arm above your head and then bend the elbow. Carefully walk the hand down the back until it meets your right hand. Hook the fingers of your two hands together.

Note: Do not force the forearm into the parallel position! You could damage your rotator cuff. Listen to your body and stop if you feel pain. If your hands are not able to meet, you can use a strap to help connect them.
Live Wrist Pain Free! Healthy Wrists Will Make a Huge Difference in Your Yoga Practice
Between yoga, typing, and all the other stress-inducing tasks in our lives, the wrists can certainly take a beating. But with these stretches and poses in your toolbox, you can prevent injury and decrease wrist pain.
Our wrists also tend to carry a lot of tension. By utilizing these techniques, you can bring a sense of relaxation and peace to the entire body.
Wrist Injury? Here’s How to Modify 7 Common Yoga Poses (Photo Tutorial)
This article has been read 1K+ times. Feelin’ the love!
You May Also Enjoy
The health of our wrists not only depends upon the strength and tone of the muscles on the tops and bottoms of our forearms, but also upon how we bear weight on our hands and wrists. Although repetitive use will damage muscular tension, wrist injuries themselves are usually caused by how we put weight on our hands.
Read »

New Classes
Don't Miss These


This Month's Letter
From the Editor
Monthly motivation and food for
thought from our founder.


