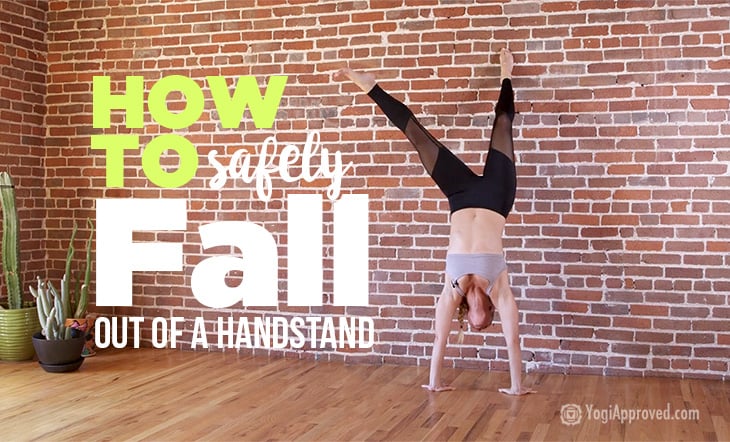
Tips and Drills to Help You Safely Fall Out of a Handstand (Video Tutorial)
Does your fear of falling stop you from trying Handstand? No worries – you’re not alone! Most of us fear falling out of a Handstand when we begin this inversion practice. The good news is that this is all part of your Handstand journey.
Fear is a huge inhibitor, especially with inversions. Since we rarely stand on our hands, the mind-body connection when we’re inverted is not as sharp compared to when we stand on our feet.
Fear comes from not not knowing how to control our body when we are inverted, and not knowing what to do when we fall.
Luckily, there are ways we can move past these fears. The first step toward gaining confidence in your Handstand is to get comfortable being upside-down. Watch the video below from our Learning to Handstand program and then read the full article for more helpful tips and progressions to help you gain confidence in your Handstand.

Never miss a FREE class. SUBSCRIBE HERE
Tips to help you safely fall out of a Handstand:
Once you begin to implement these tips into your Handstand practice, you can then add progressive drills to help you find confidence in your Handstand exit.
Tip #1: Continue to build strength
A common fear when we practice Handstand is that we lack the strength to hold it. The simple answer to get over this fear is: do the work. Focus on building strength in your shoulders and your core. And remember – gaining strength takes time and dedication.
If you’re looking for great shoulder and core work to add to your practice, try this 20-Minute Vinyasa Yoga Class for Core Strength and this 15-Minute Class for Finding Strength in Your Shoulders.
Tip #2: Notice your thoughts and attitude
The power of positive thinking is real. In your Handstand practice, if you constantly tell yourself you’re not strong enough and you cannot do a Handstand, that is what you will manifest.
Instead of focusing on the negative, focus on the outcome you desire. Visualize yourself kicking up into your Handstand and then safely falling out. Focus on your drishti and your breath, and remember this is a practice.
The more you practice the movement of falling out of your Handstand with a positive mindset, the more success you will have. Allow yourself to start slow and progress without judgement or negative self talk.
Now you’re ready to try these 5 progressions to help you safely fall out of a Handstand:
Now that you’ve reviewed the above tips, you’re ready to practice! Approach these progressions one step at a time. Try them with patience and an open mind, and take your time building confidence before progressing to the next stage. You’ve got this!
Progression #1: Strengthen your mind-body awareness while inverted
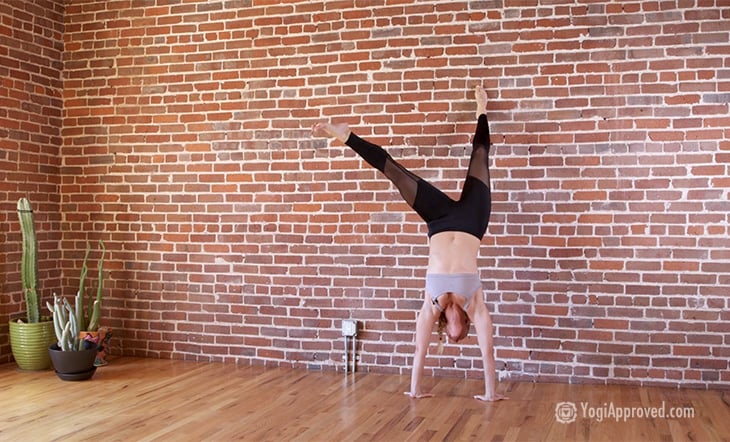
Time to become familiar with being upside-down! Start by using the support of a wall to build your mind-body awareness and focus on making mindful movements while inverted. This will improve your confidence and help you safely fall out of your Handstand.

Let’s try it:
- Find an empty wall with no furniture nearby
- Come to Downward Facing Dog with your hands about a palm’s distance from the wall
- Kick your feet up to the wall to come into your supported Handstand
- Keep your core and shoulders engaged
- Find small and controlled movements, like moving each foot or shifting the weight in your hands, and notice how it feels in your body
- When you are ready to come down, gently push your heels off the wall and come back to
- Downward Facing Dog
- Practice this as often as possible
Progression #2: Create muscle memory
When we aren’t comfortable with falling out of a Handstand, our focus tends to be on the bail out and not the pose itself. Practice the bail out and build muscle memory, and in turn, you’ll be able to focus more on the Handstand.
This drill uses the wall to train your body how to confidently cartwheel out of your Handstand.
Let’s try it:
- Using the same empty wall space, kick up towards the wall
- Engage your shoulders and core
- Bring your focus to your less dominate leg (if you’re right handed, then this will be your left leg)
- Activate your less dominant leg, and bring it away from the wall and the body
- Take a deep inhale
- On your exhale, firmly press into your dominant hand on the mat, and push your body away from the wall in the direction of your extended leg (resembling a cartwheel)
- Slowly come back to standing to avoid dizziness
- Continue this drill as often as desired to help build muscle memory
Progression #3: Take your cartwheel off the wall
Once you are confident with the cartwheel technique against the wall, it’s time to take your cartwheel into the middle of the room. If you are still a little hesitant to practice a cartwheel, remember you can start small and slowly work your way to a full cartwheel.
This drill will continue to build muscle memory and give you more confidence in your Handstand.
Two Notes Before We Start:
- Determine your dominant leg and allow it to lead your cartwheel. For simplicity, these directions are for a right dominant leg.
- There are two ways to cartwheel: one entry is with your hips forward and facing your dominant leg. The other is your hips open and not facing your dominant leg.
Let’s try it:
- Find a wide open space that is free of furniture
- From whichever entry you choose (see notes above), place your right hand in front of your right foot and transfer your weight into your hand
- Quickly launch your left leg towards the sky
- Place your left hand shoulders-distance from your right, and transfer your weight into your left hand
- Follow the arc of your left foot in the air with your right, keeping your hips high Note: You’re inverted here!
- As your left foot finishes its arc and touches the ground, transfer your weight into it
- Your right foot will then meet the left to complete your cartwheel as you return to standing. Great job!
How to progress in this drill:
- If you’re a beginner, keep your feet close to the ground and focus more on the movement and the transferring of the weight in your cartwheel
- If you feel you are confident in the movement, begin to bring your legs closer to hip height in your cartwheel. This transfers more weight into your upper body
- The last step is your full cartwheel and bringing your feet to stack directly over your hips. This most resembles your Handstand bail out, and helps you feel where the weight will shift
Progression #4: Fall out of your Handstand on purpose
After your cartwheel becomes second nature, it’s time to combine it with your Handstand. The best way to do that: practice purposefully falling out of your Handstand!
Your focus in this drill is to use the muscle memory you have built to safely fall out of your Handstand without doubting yourself.
Let’s try it:
- Use the same open cartwheel space
- Set up for your Handstand entrance with an engaged shoulders and core
- Kick into your Handstand and immediately cartwheel out using the same movements you’ve been practicing
- Practice this as often as you can until it’s second nature
For a refresher on how to kick into your Handstand, check out this 20-Minute Handstand Tutorial.
Progression #5: The walk back
When your cartwheel exit is solid, there’s another technique you can work toward. The walk back is simply “walking” your hands a few “steps” to catch your balance if you feel you’re about to fall.
You take one or two “steps” with your hands to give you time to find your balance before you make your cartwheel exit.
Things to AVOID when learning how to fall out of your Handstand
While different yoga (or even gymnastic) disciplines teach different methods of falling out of inversions, there are a few things that, as a yoga teacher, I recommend you avoid to keep your practice safe.
1. Falling into Wheel Pose
You might see some yogis exit their Handstand into Wheel Pose, and it works well for them. However, I do not recommend this exit for beginners. Falling into a deep backbend like Wheel Pose can put a lot of pressure on the spine.
Using the wall as a backup to avoid falling into Wheel Pose is a great way to avoid injury while building the necessary strength and awareness in your Handstand practice.
2. Using the tuck and roll technique
The tuck and roll technique is simply exiting your Handstand with a forward roll. Again, this technique works well for some yogis, but could be extremely harmful to your neck if not done properly. It takes great strength and body awareness to control that movement from your Handstand.
3. Bringing judgement into your practice
Handstand is part of your yoga practice – treat yourself with the same love and kindness as you do on your mat. Don’t allow judgement to creep in because you feel you’re not learning Handstand quickly enough. That will only lead to more frustration and negativity.
Never lose the joy and journey of your practice because of your desire to nail a pose like a Handstand. Instead, treat Handstand itself like the journey that it is, and enjoy your evolution!
Bailing Out of Handstand: The Takeaway
Fear and doubt in your yoga practice is totally normal. If you’re beginning your inversion journey and find the fear of falling holds you back, gift yourself with the courage to take these small steps to find confidence in your Handstand.
You may be surprised where else this new mindset manifests in your life! Handstands can boost your level of confidence, and the positive mindset you cultivate on your Handstand journey will influence all aspects of your life for the better. Happy Handstanding!
Looking for more Handstand instruction?
Try the full Learning to Handstand program and enjoy 8-classes that cover all the building blocks of mastering the handstand practice.
This article has been read 388 times. Share it and spread the love!
You May Also Enjoy
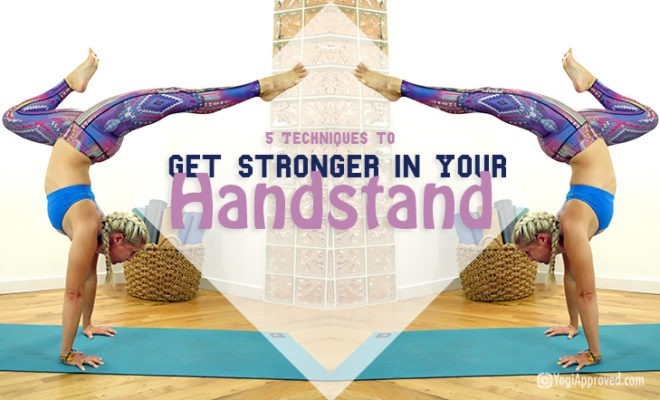
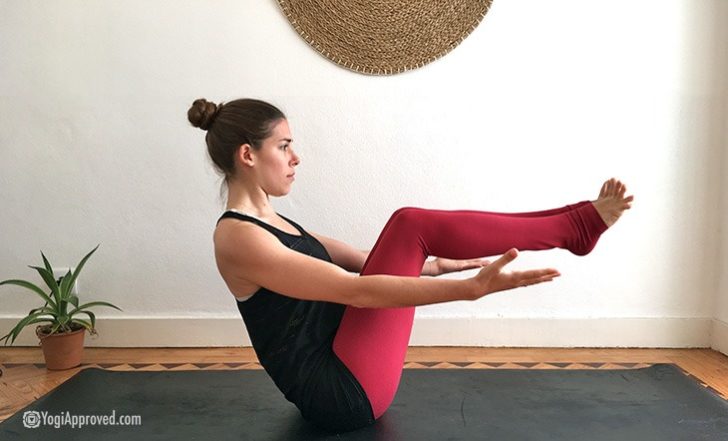
Want to build strength and confidence in your handstand practice? Here are five techniques to help get you stronger in handstand.
Read »
Don't Miss These


This Month's Letter
From the Editor
Monthly motivation and food for
thought from our founder.